Homemade Envelopes Out of Scrapbook Paper
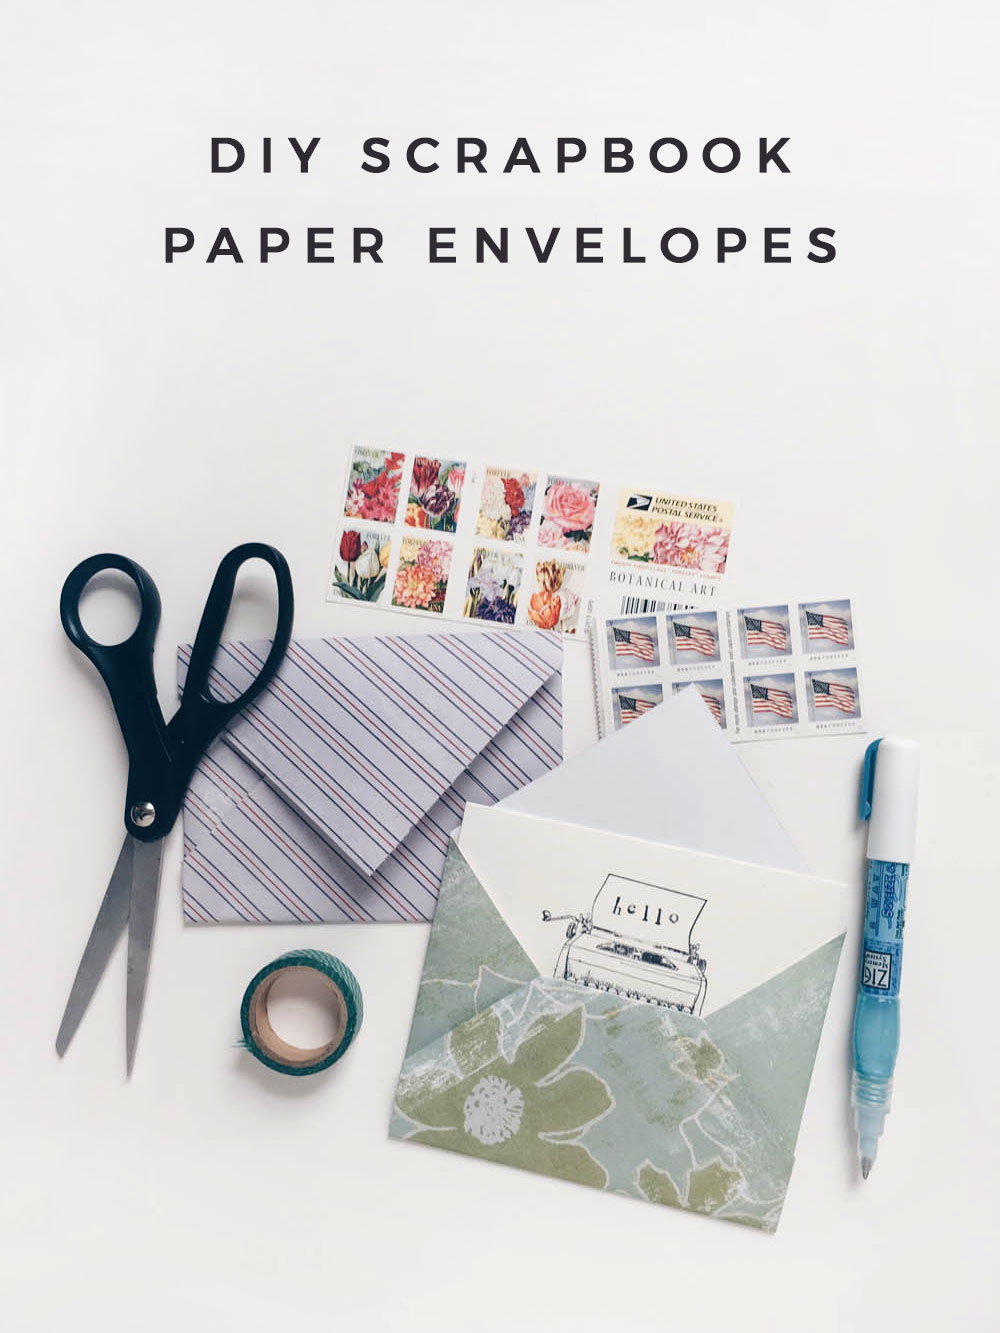
This is a quick and easy tutorial that will teach you how to make DIY envelopes out of scrapbook paper! InCoWriMo is almost over, and this is a fun way to add some color and pattern to your last few letters.
For those unfamiliar with the event, InCoWriMo (International Correspondence Writing Month) is an annual creative challenge. According to the official website:
"InCoWriMo challenges you to hand-write and mail/deliver one letter, card, note or postcard every day during the month of February."
It's definitely a chance for pen and paper lovers to put their favorite tools to use! I've participated in InCoWriMo's daily letter challenge in the past, and I enjoyed connecting with friends the old-fashioned way.
Even though I've only been able to send a few letters this year, I still wanted to make them a bit more fun :)
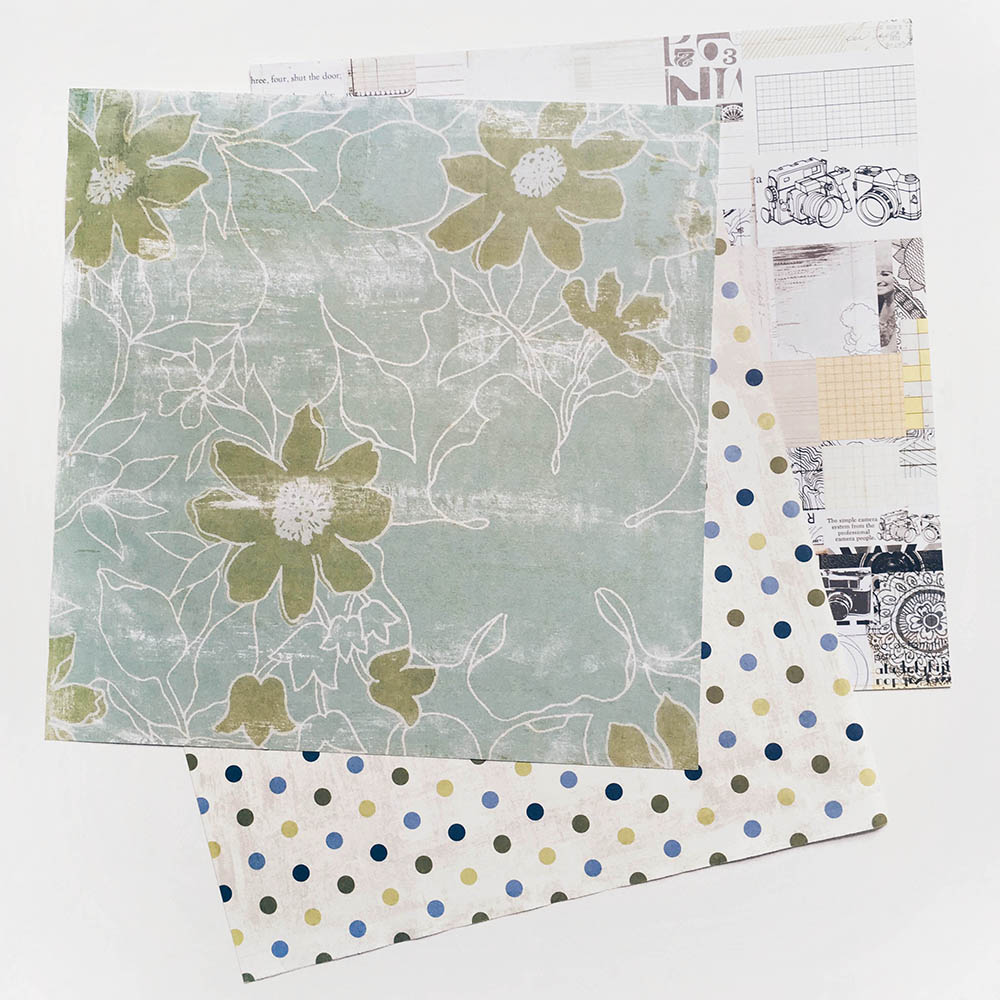
For this project, you will need some sheets of scrapbook paper! If you're like me, you already have a stash of these pretty patterned papers. If not, you can always find some at Michaels or your local craft store. I've consistently found great deals on scrapbook paper at Tuesday Morning as well.
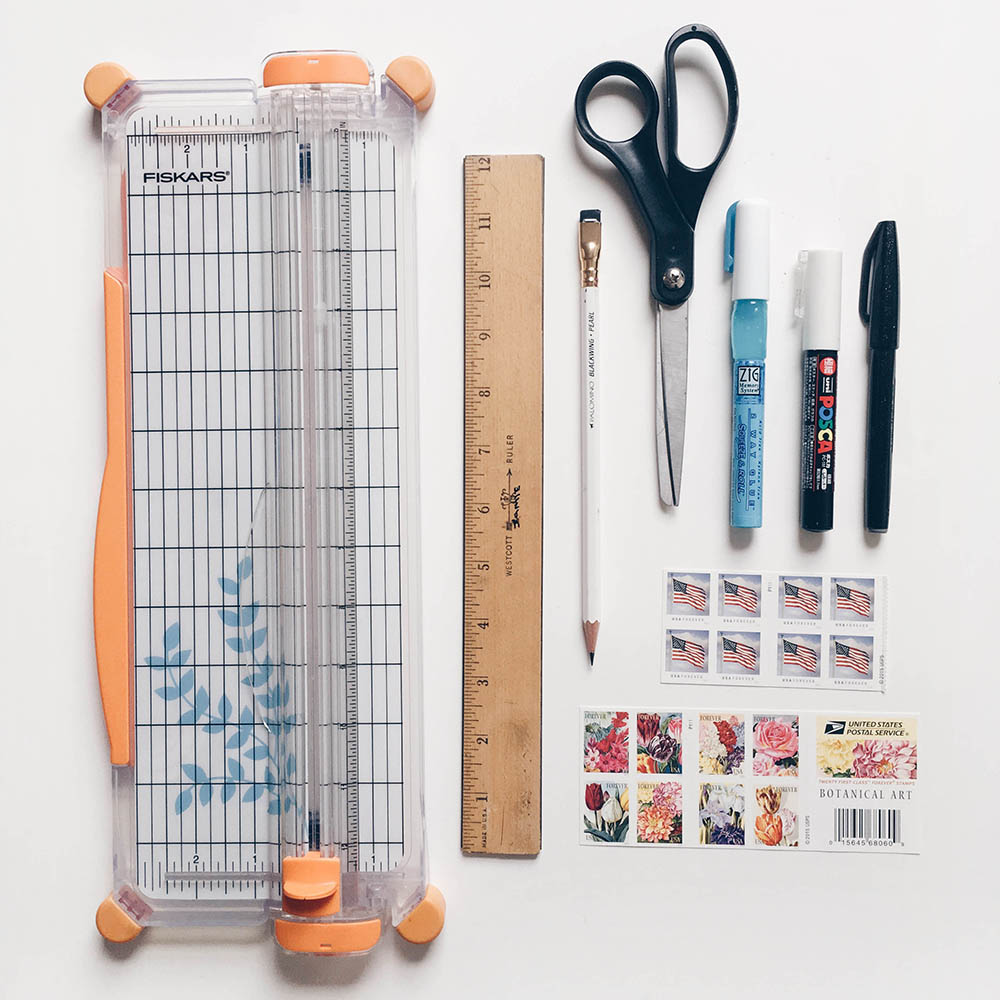
In addition to paper, you'll also need the following supplies:
- Paper trimmer (or plain scissors will do)
- Ruler
- Pencil for marking measurements
- Glue pen or glue stick
- Pens and markers for writing addresses
- Stamps
- Greeting card
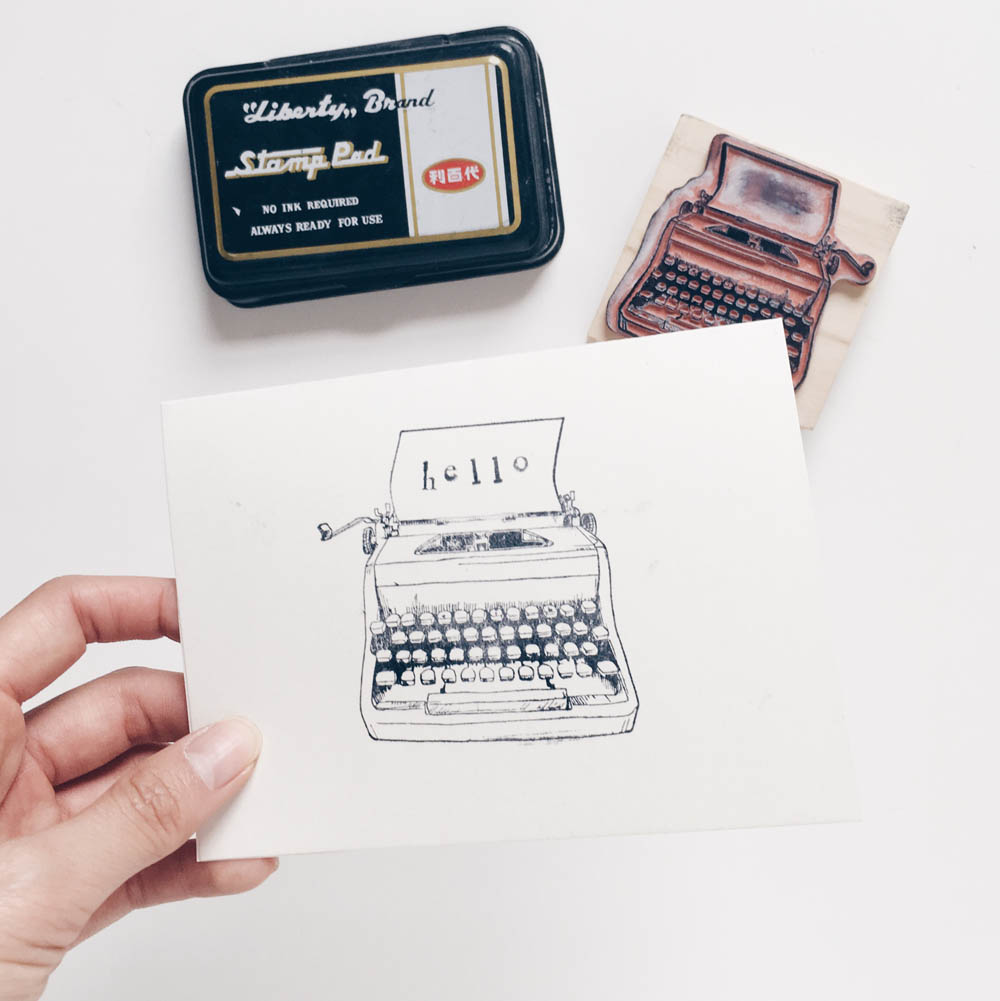
I made this simple stamped greeting using a 4″ x 5.5″ blank card, but this trick should work for any card dimension.
First, measure the diagonal of the card. My 4″ x 5.5″ card measures 6.75″ from corner to corner.
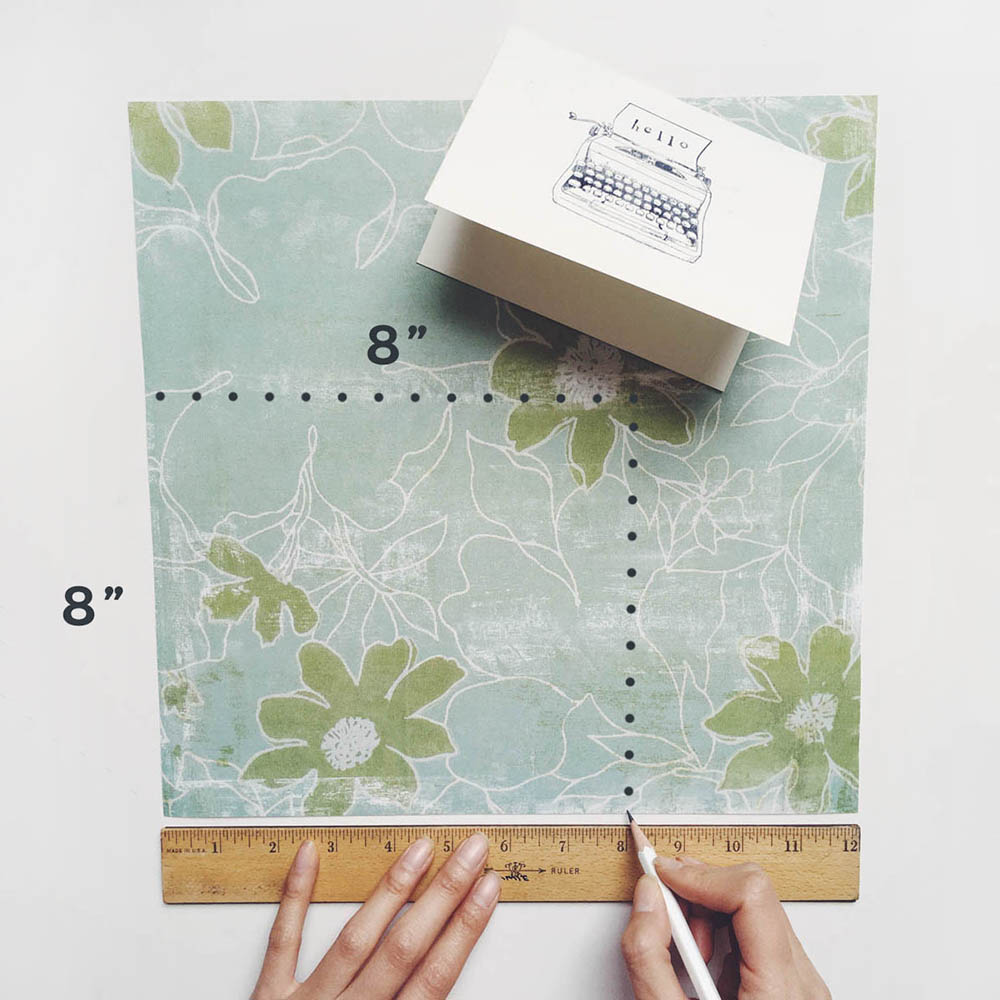
Round this up to the nearest whole number– in my case, 7″– and then add 1 inch.
Now we have a measurement of 8″.
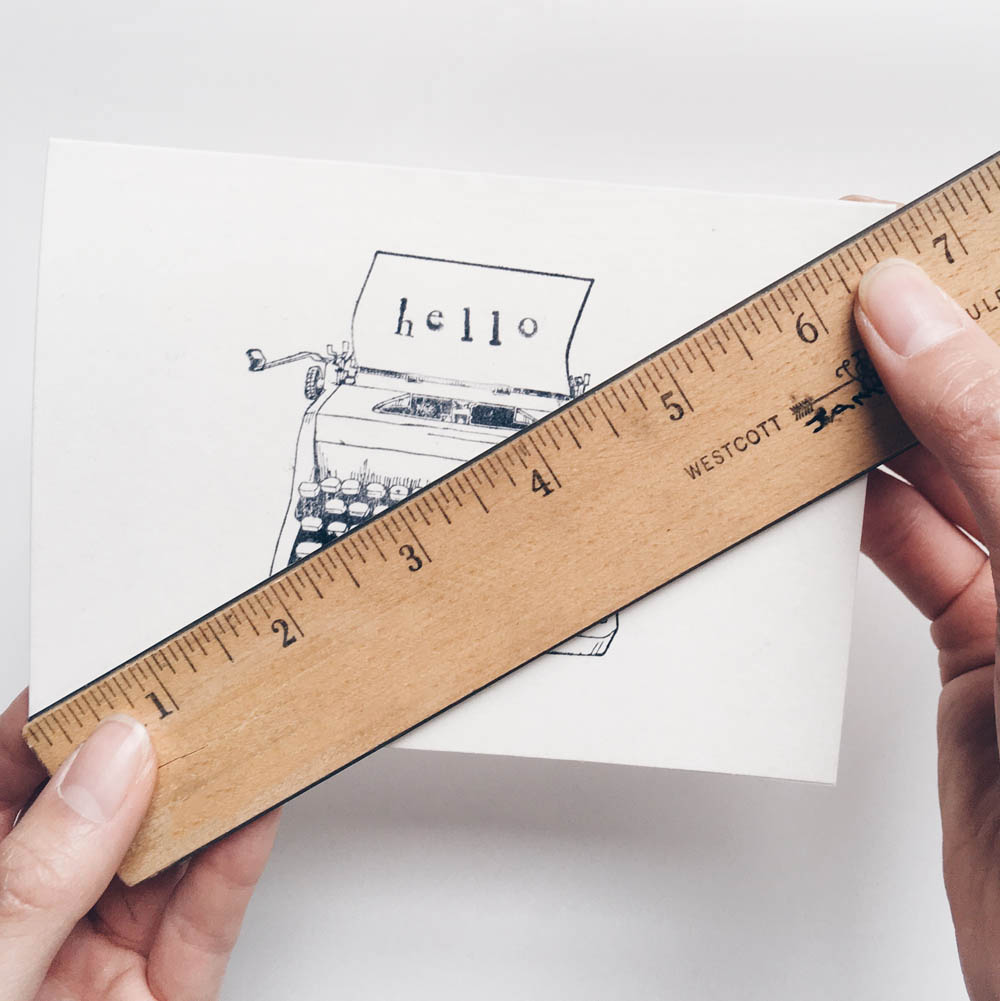
Measure and lightly mark an 8″ x 8″ square on your sheet of scrapbook paper.
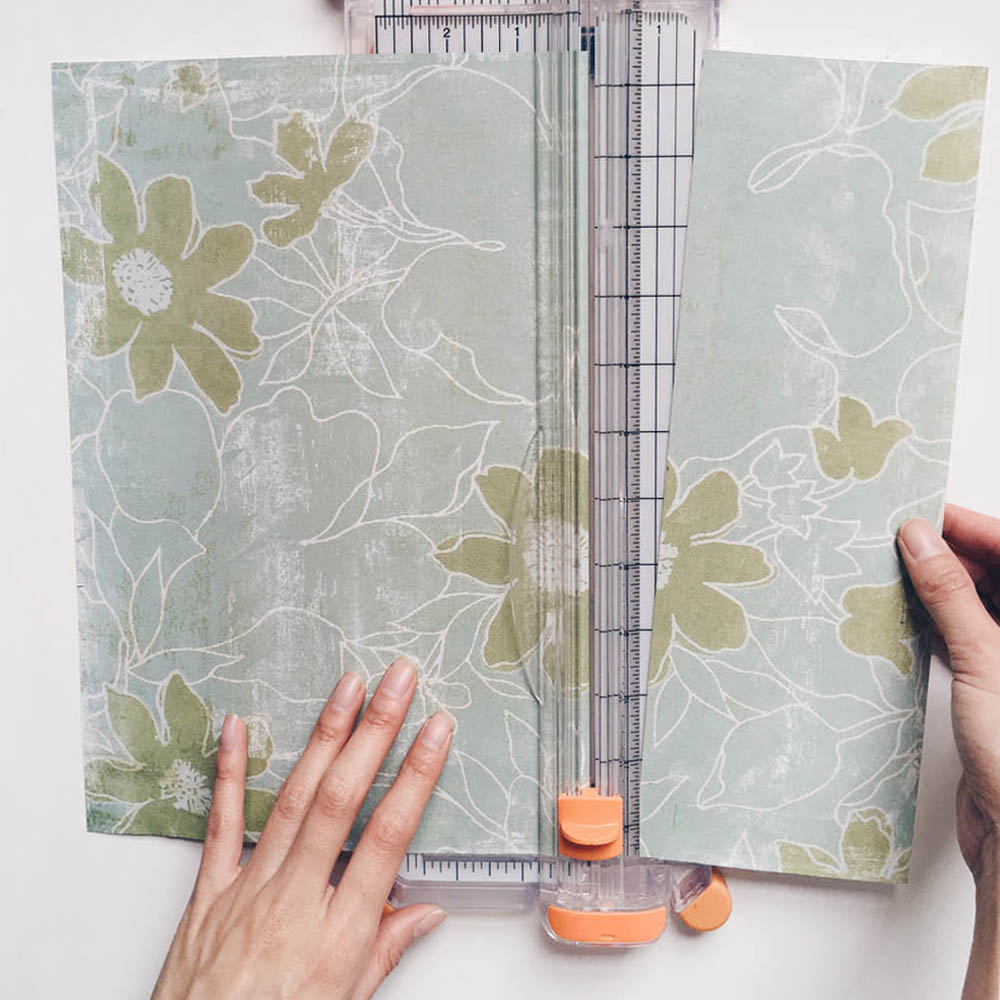
Using a paper trimmer (or scissors), cut out your 8″ x 8″ square.
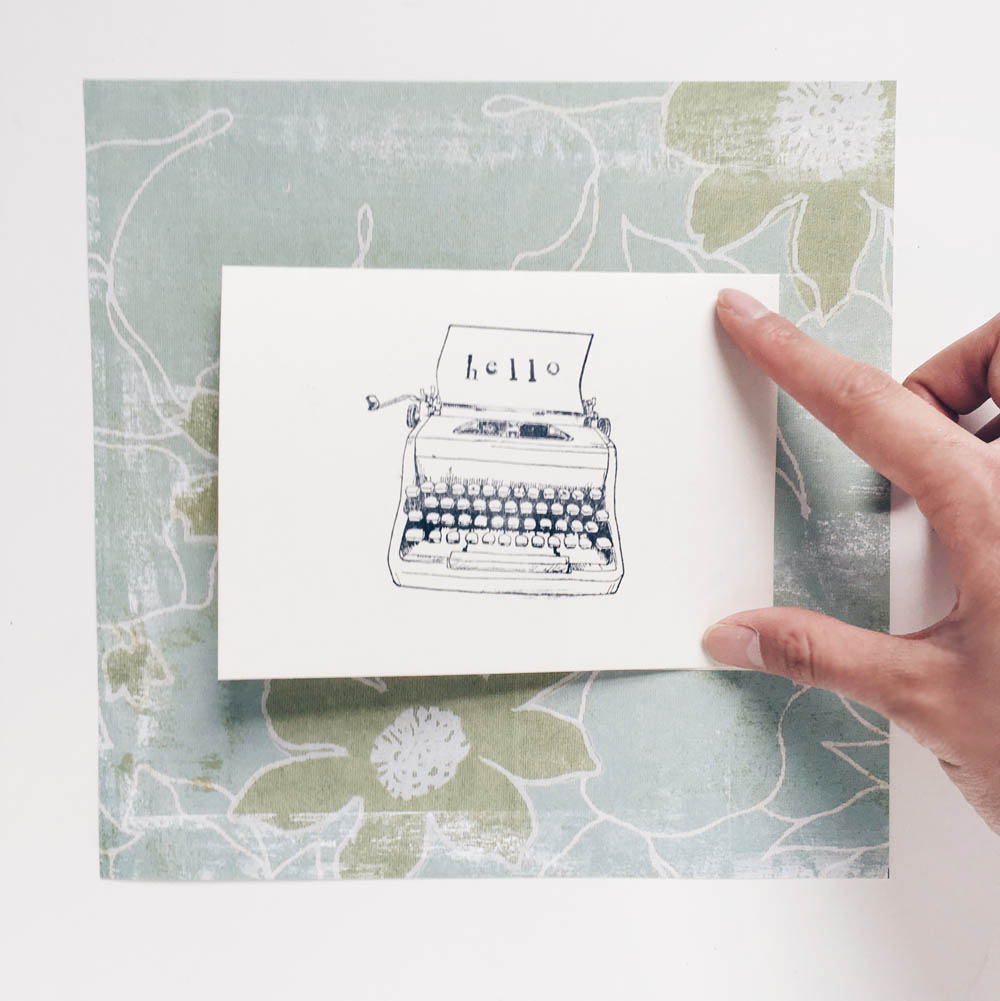
You should have plenty of space around your card!
Next, rotate the square so it's oriented like a diamond. Fold the two corners in until the points touch.
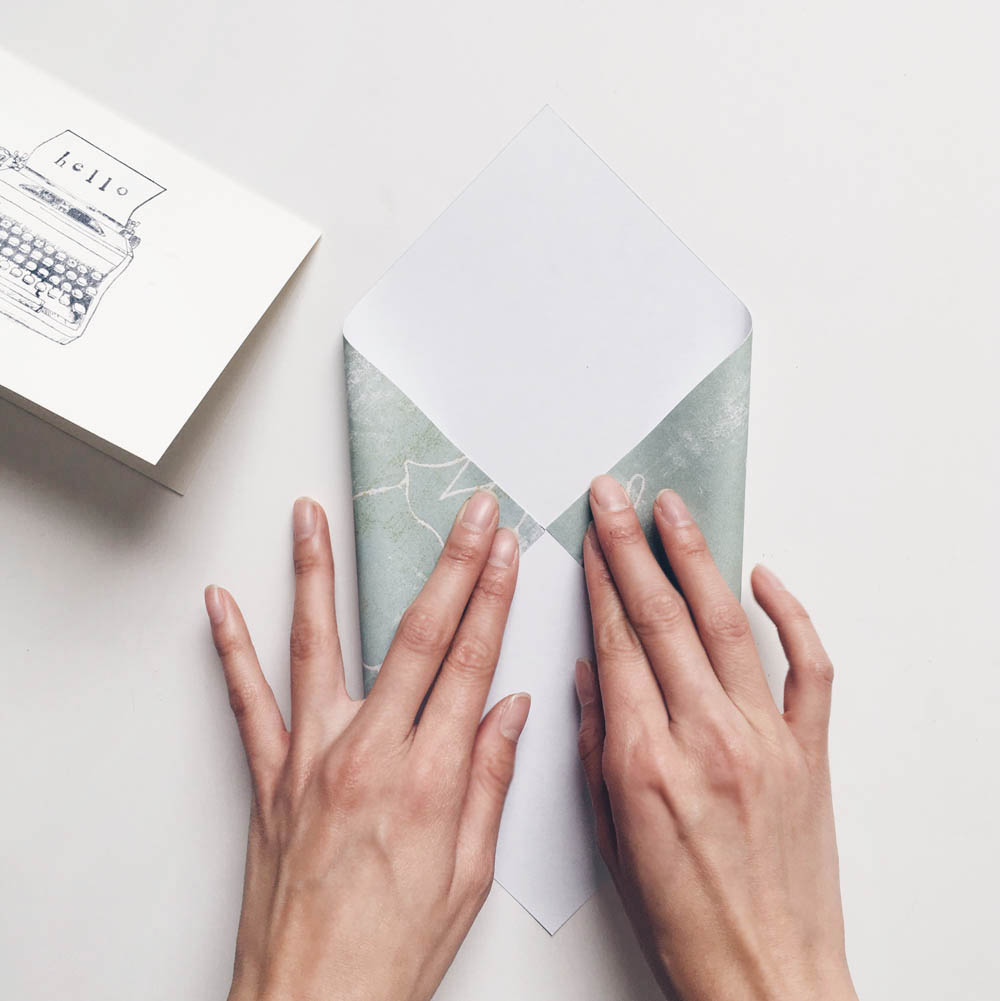
Flatten the paper into sharp creases.
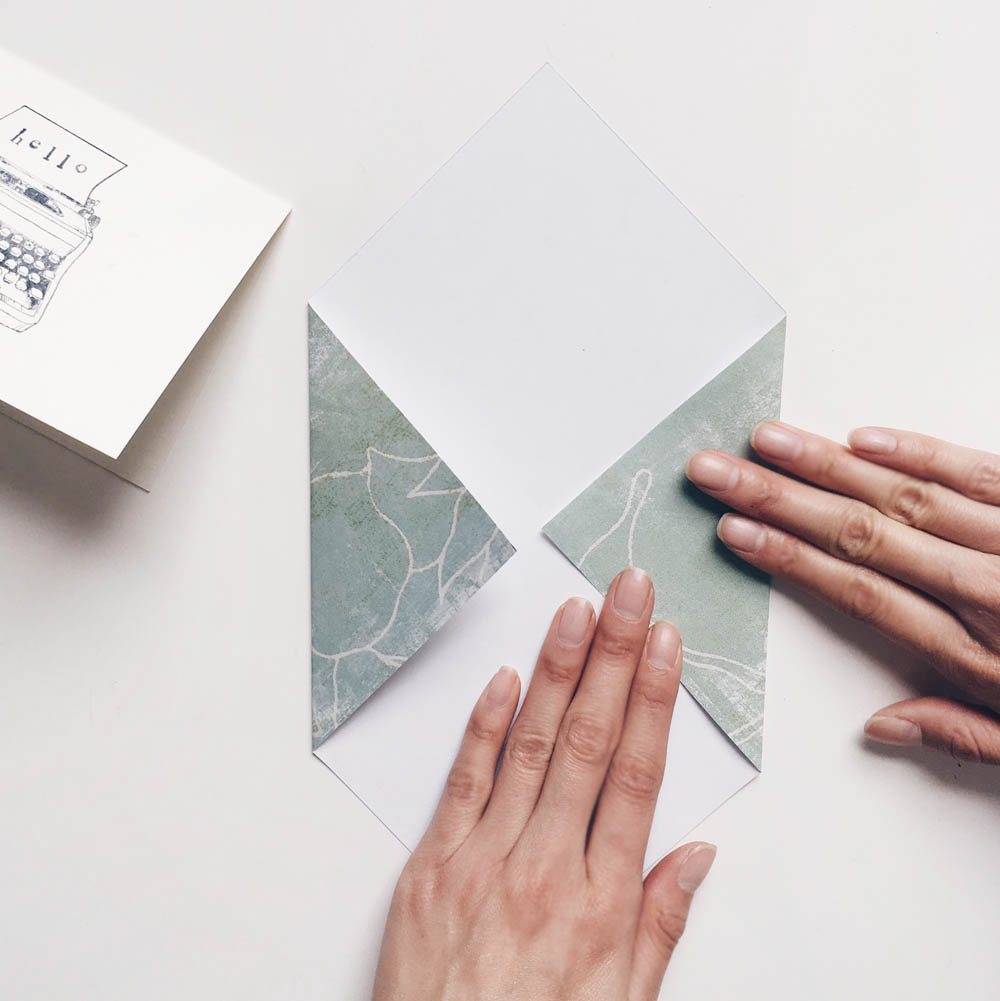
Fold the bottom corner up until the point is almost aligned with what will become the top of your envelope.
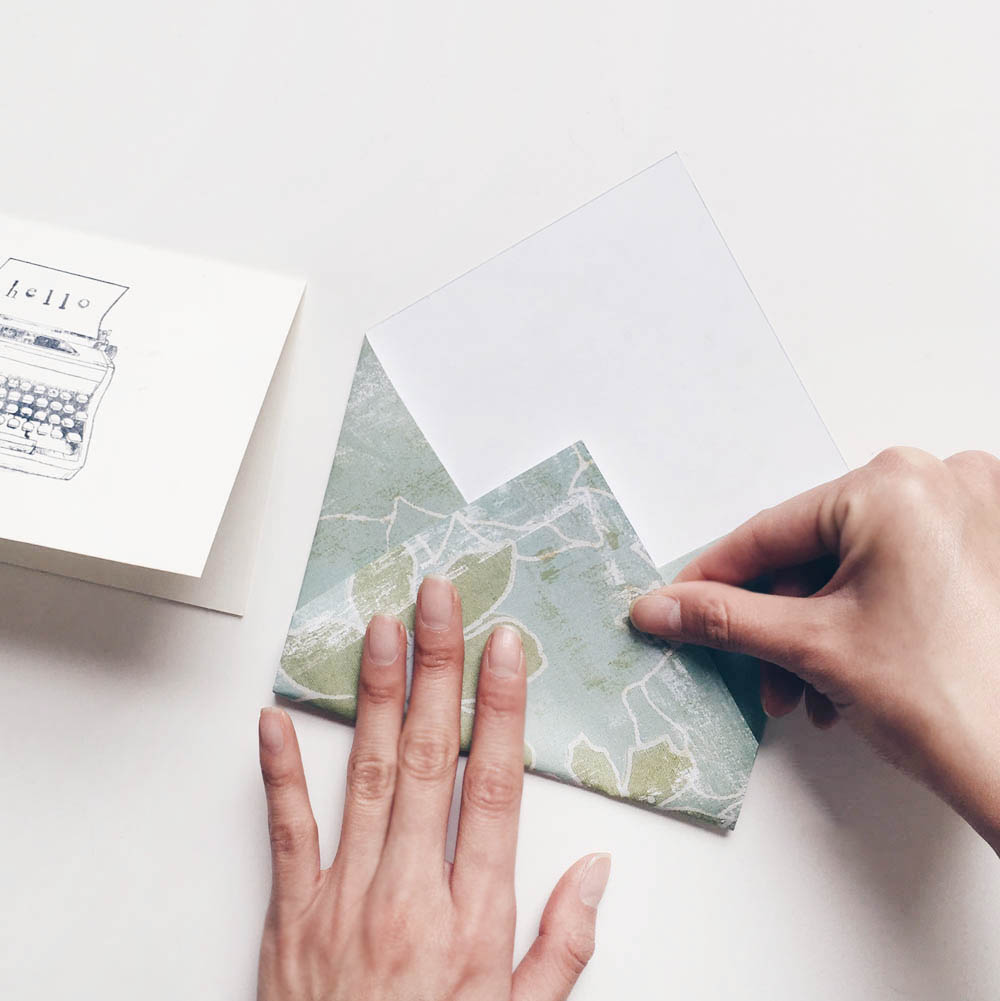
Using a glue pen (I'm using a Kuretake glue pen) or glue stick, attach the bottom fold to the first two folds. Be careful not to glue the entire envelope shut!
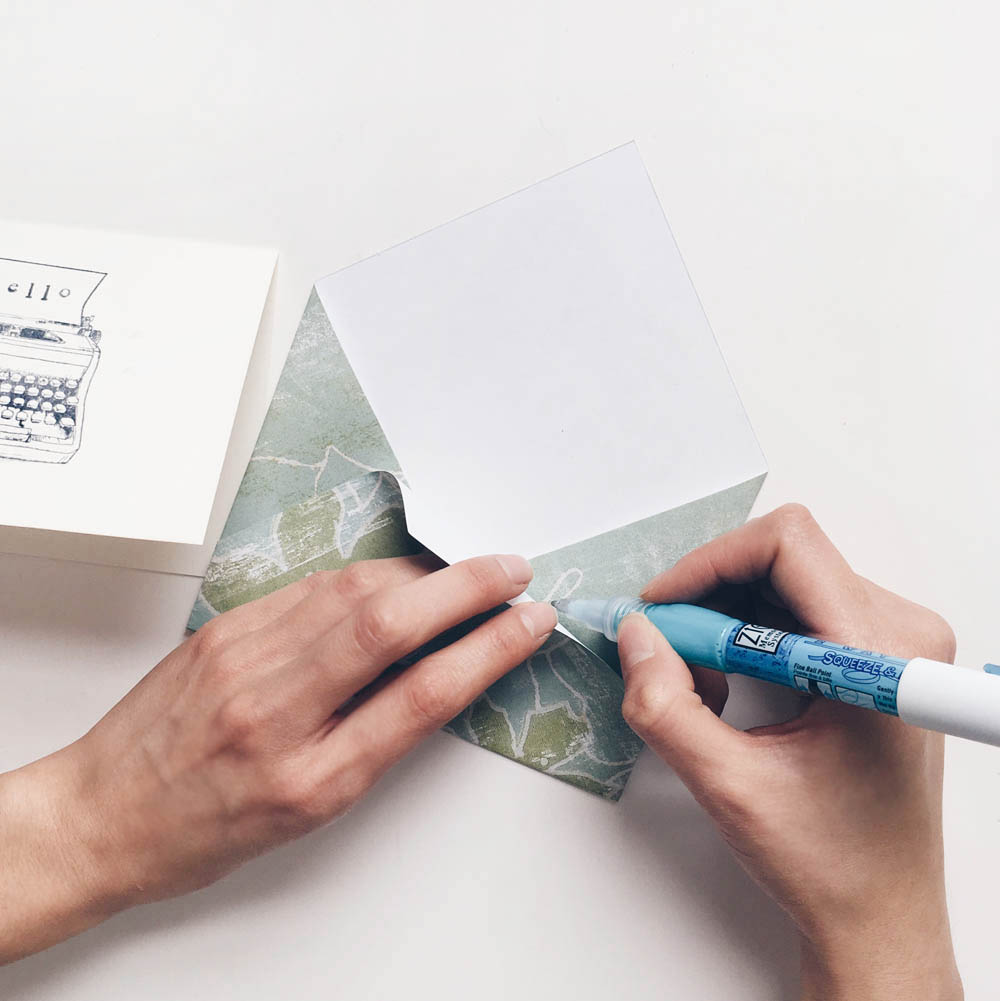
Fold the pointy corner towards the inside of the envelope and secure it with some more glue.

Once the glue is dry, slide your card into the envelope. It should fit snugly!
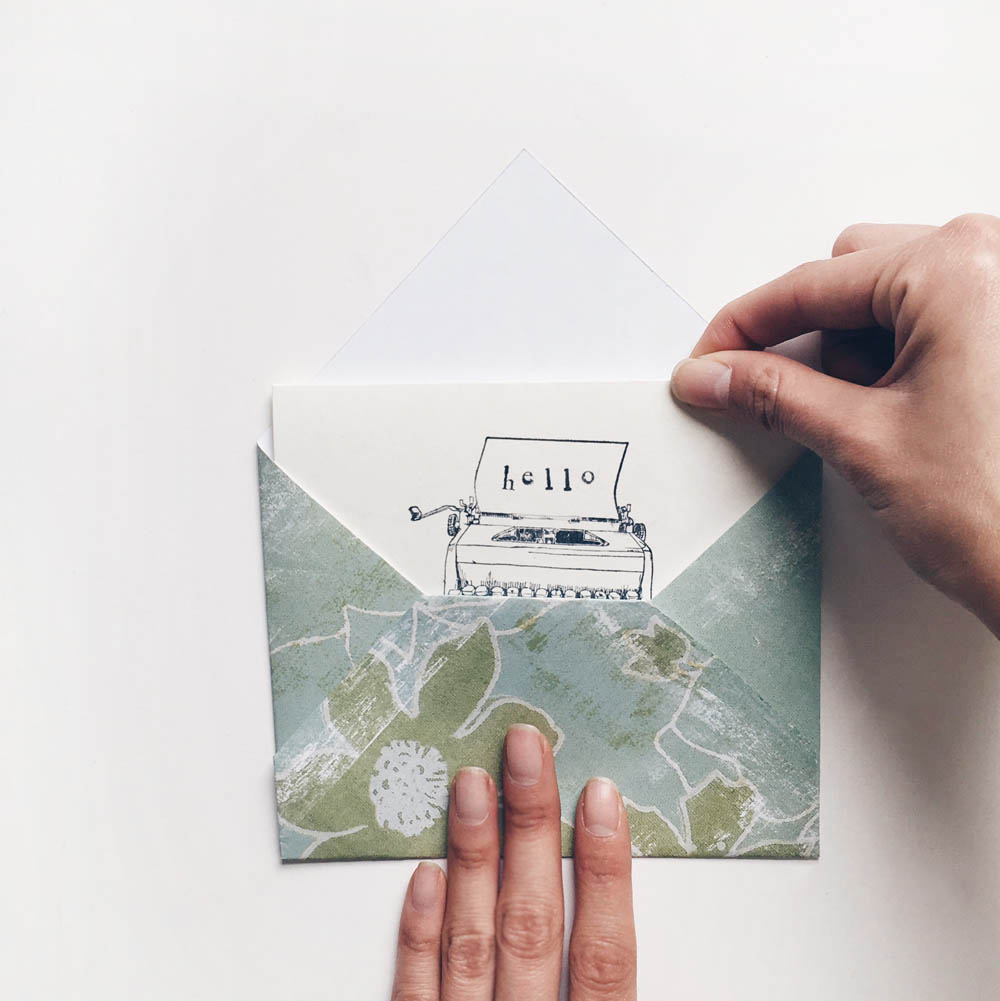
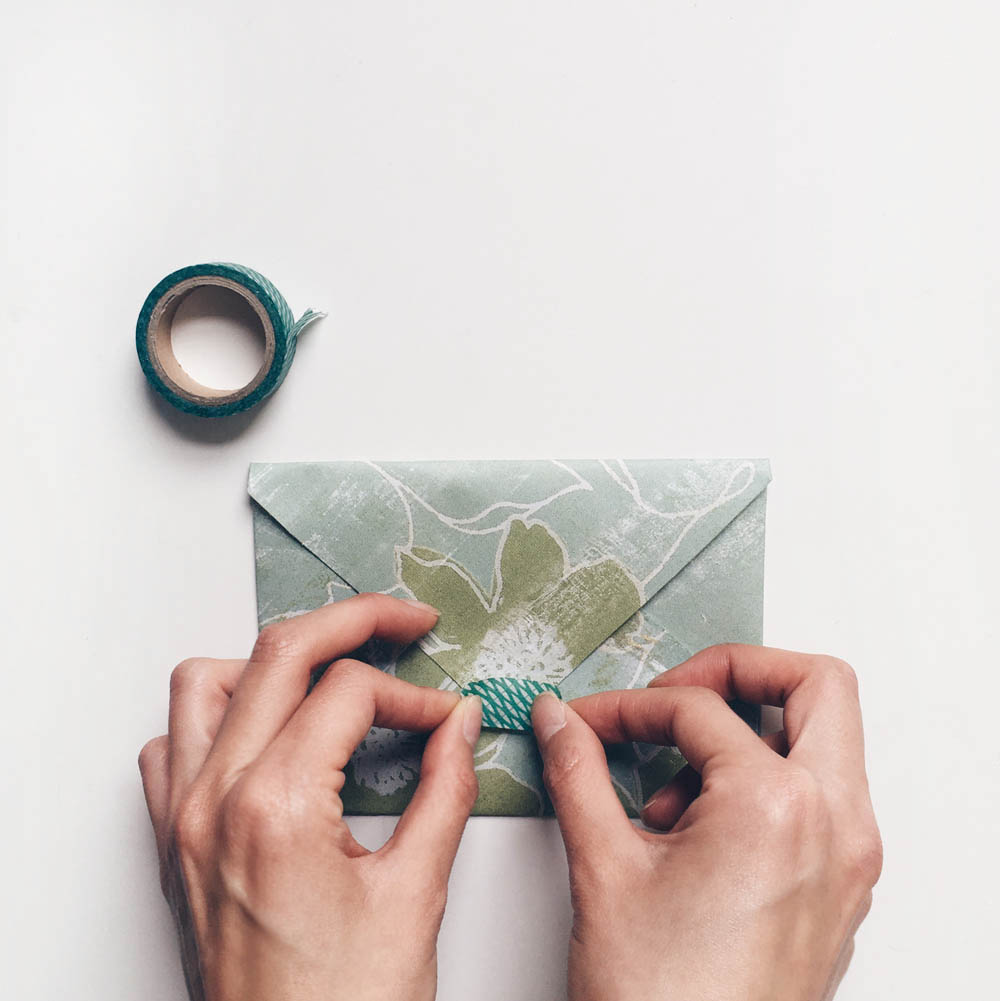
Since these are DIY envelopes, there's no sticky strip to lick. You can use some washi tape to seal the envelope, or glue the edges shut for added security.
Affix a matching stamp. I'm a big fan of the USPS Botanical Art Stamps (I even stood in line for them on the first day they were released).
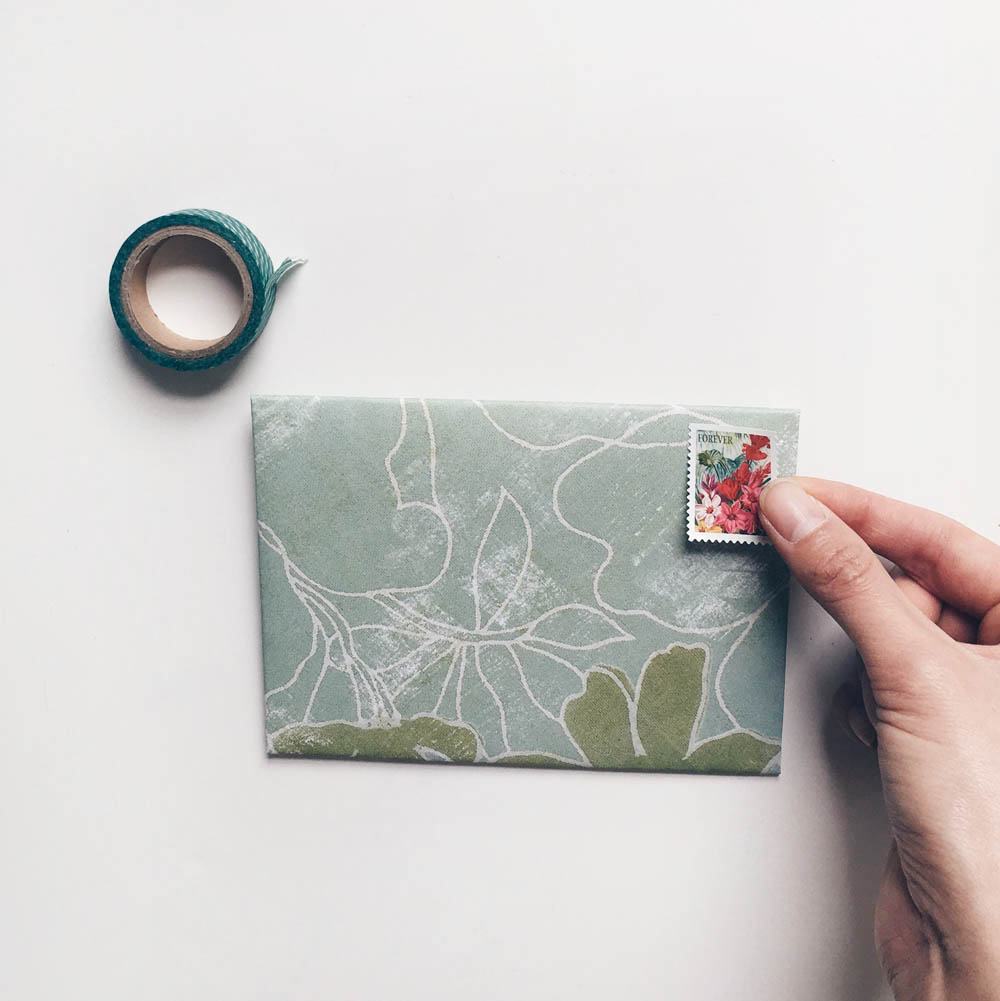
Since scrapbook paper is usually patterned, you may have trouble writing the address lines clearly and legibly. Blank labels or address stickers can help!
You could also write the address on a small piece of blank paper and glue it to the front of the envelope.

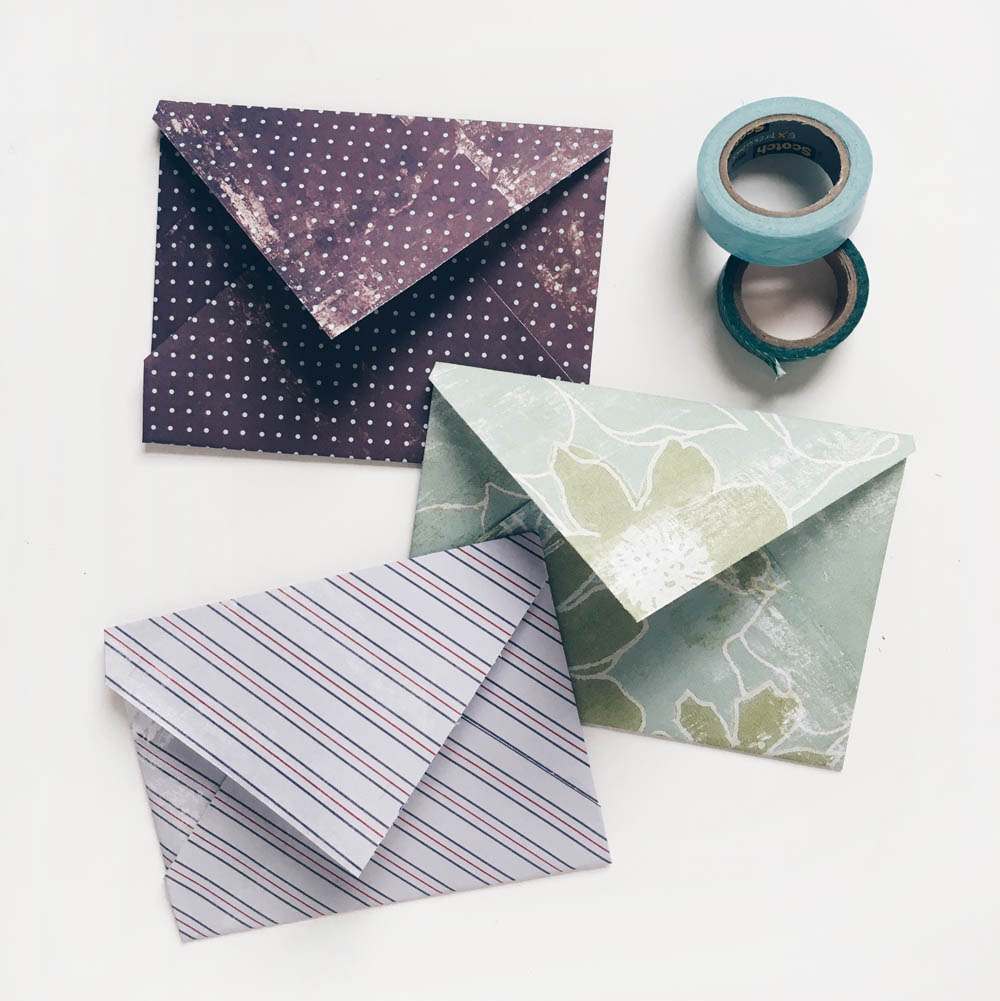
Dress up your envelope with additional touches! You can add stickers, tapes, or use a corner punch to create rounded flaps.

Warning: making these is so simple and fun, you might get carried away and make a bunch!
Happy InCoWriMo!
Homemade Envelopes Out of Scrapbook Paper
Source: http://owl-ink.com/diy-scrapbook-paper-envelopes/
0 Response to "Homemade Envelopes Out of Scrapbook Paper"
Post a Comment